Before You List:
A Real Estate Photographer's Decluttering Guide
Of all the things that hurt listing photos, clutter is the most common — and the easiest to fix. These are the decluttering steps I recommend to every seller before photo day.
As an Amazon Associate, I earn from qualifying purchases. Some links on this page are affiliate links — if you purchase through them, I may earn a small commission at no extra cost to you. This helps support the creation of free home-preparation resources for sellers.
Step 1 — Clear Every Horizontal Surface
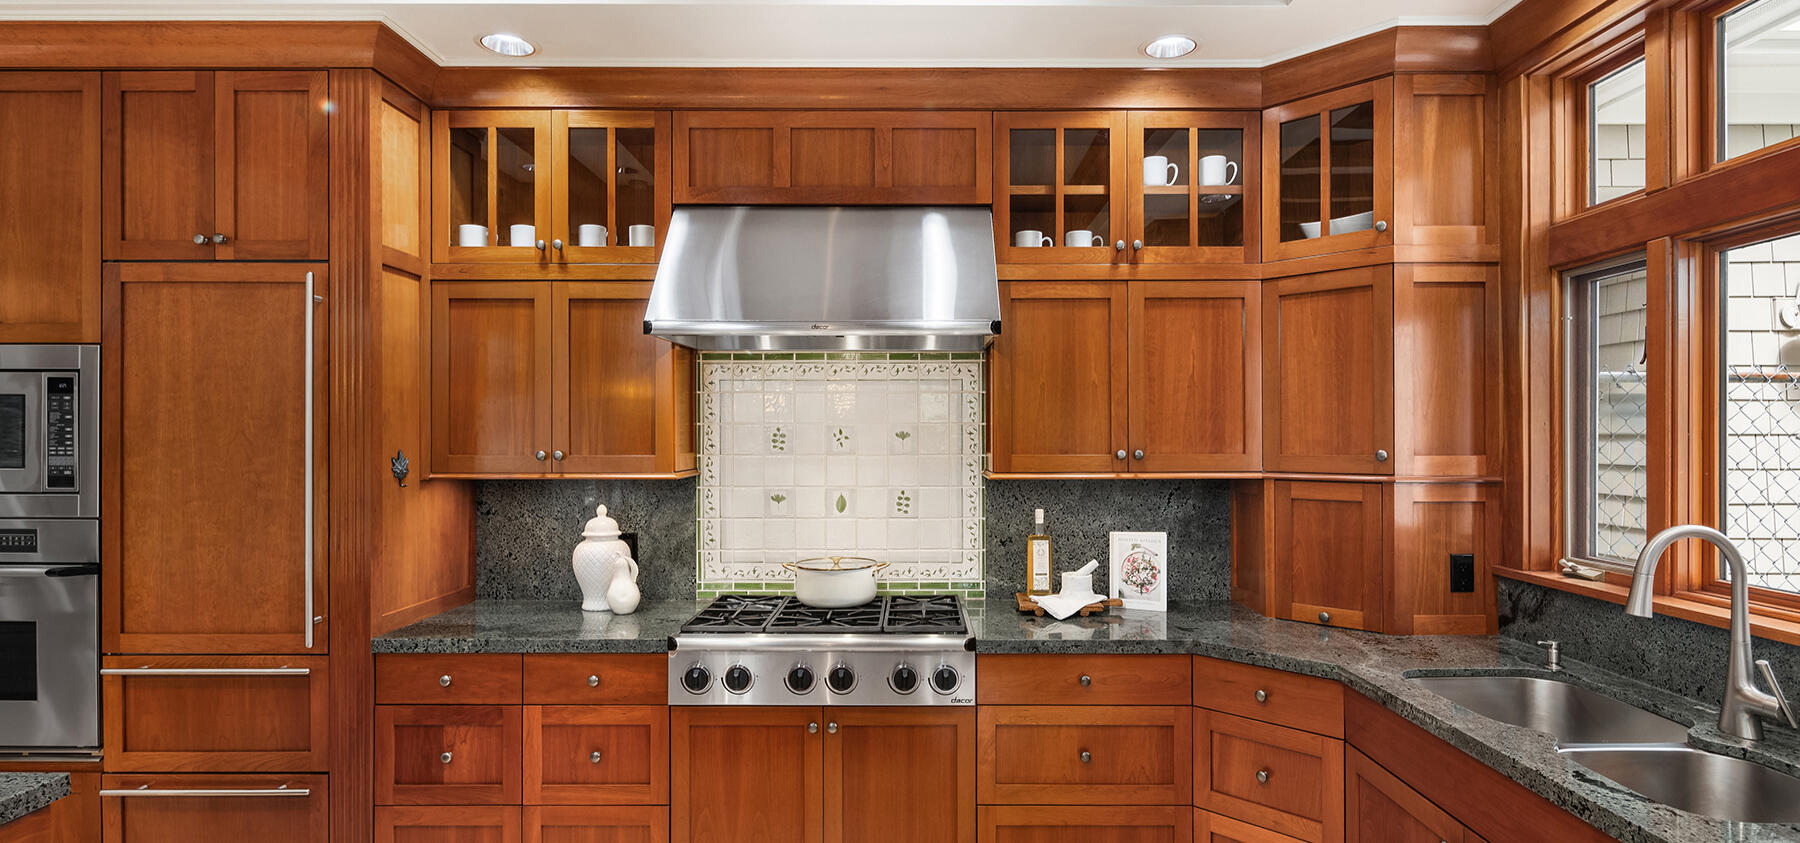
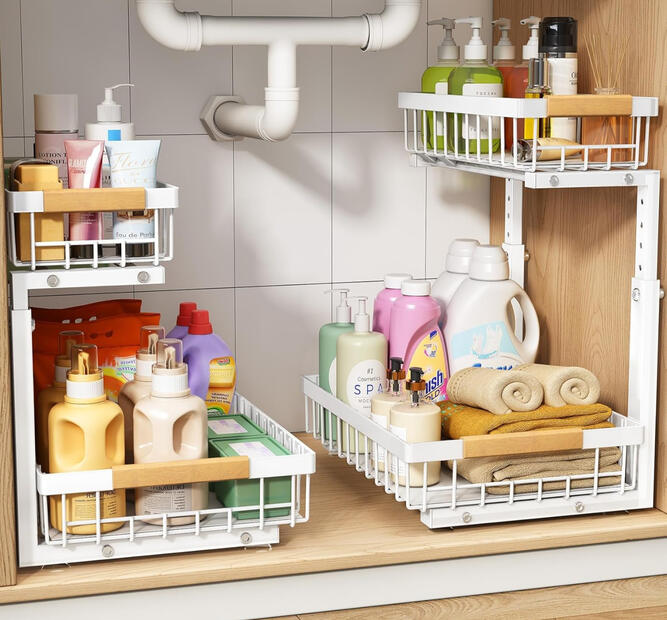
The countertops are the first thing buyers judge a kitchen on. Keep two or three items, tops — an under-sink organizer is where the rest goes, so it doesn't just migrate back out within a week of the shoot.Why it matters: A cluttered counter reads as "not enough space to work." An empty one reads as the opposite — same kitchen, same square footage, different impression entirely.
Step 2 — Make Closets Look Spacious
Buyers open closet doors during nearly every showing,
and photographers shoot them too. Pull anything off-season, anything you haven’t touched in two months, and everything sitting on the floor.Why it matters: A closet packed to 90% capacity reads
as cramped no matter the actual square footage. One at 70% reads as roomy.
Step 3 — Label Everything You Pack
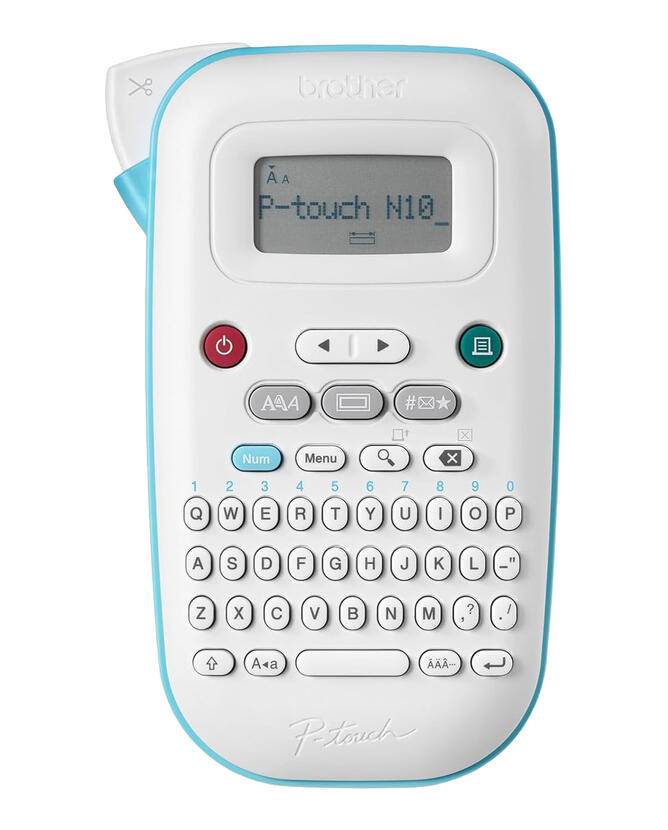
You'll be packing a lot of things you still need access to during the listing period. Label every box and bin before it goes into storage — not after. Sellers who skip this step spend weeks living out of unmarked boxes.Why it matters: A labeled, organized staging setup means you can actually find things during showings and open houses without tearing through packed boxes.
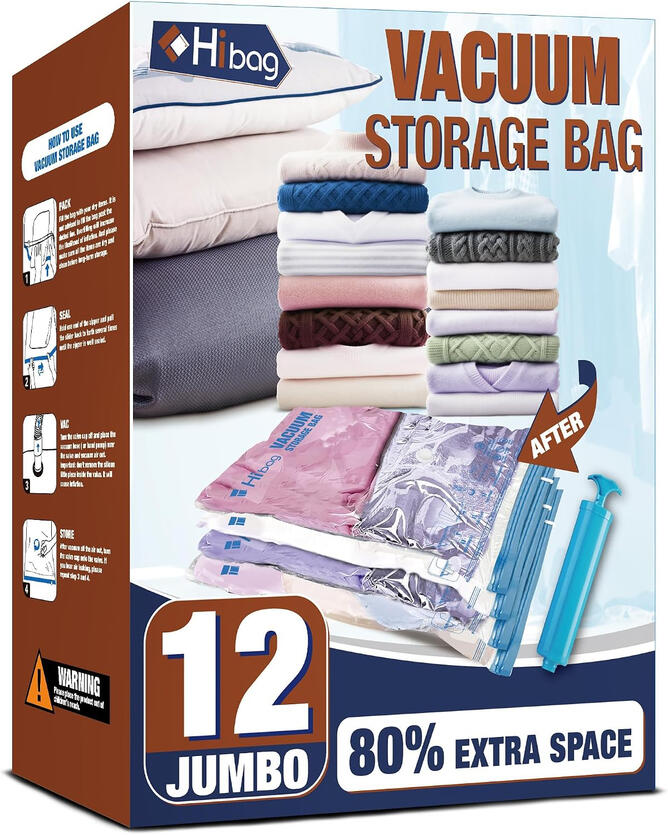
Step 4 — Compress Bulky Items That Are
Eating Storage Space
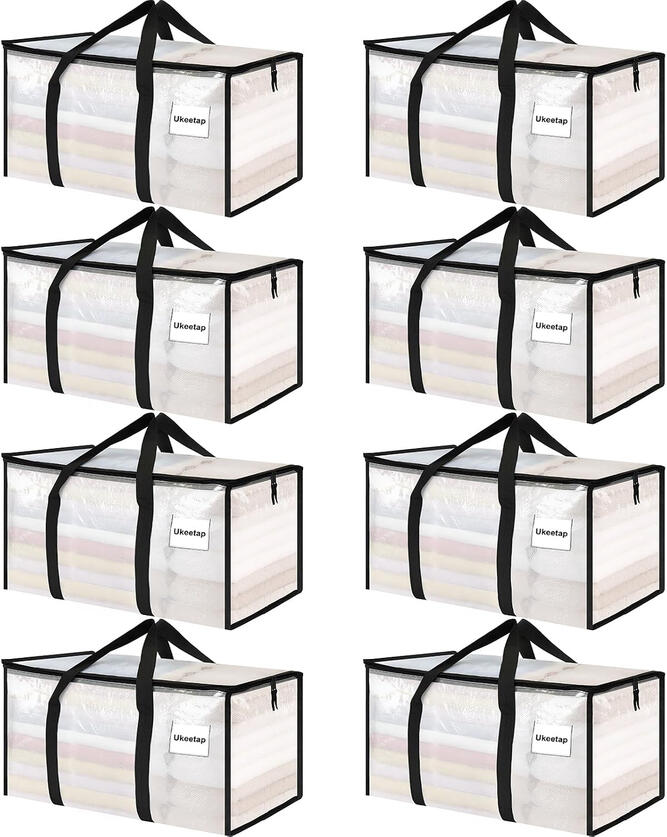
Bedding, pillows, seasonal clothing, and extra towels take up enormous closet and shelf space. Compressing them frees up the visible storage space that buyers and photographers notice most — without moving anything out of the house.Why it matters: Linen closets and bedroom closets are almost always photographed. Empty shelf space reads as "this home has room to breathe."
Step 5 — Move Excess Items Out of Sight
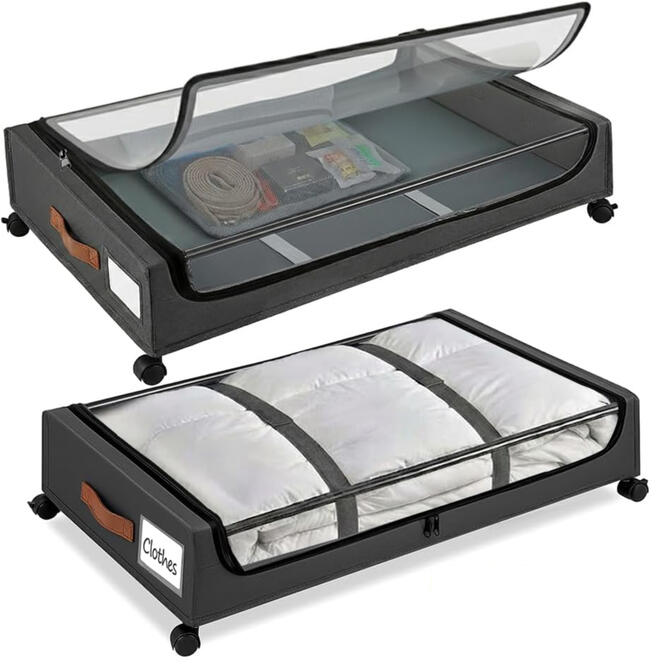
Without Losing Them
Not everything needs to leave the house — it just needs to be out of camera range. Under-bed space is the most underused storage in most homes, and wheeled bags make it easy to access without crawling around on the floor.Why it matters: Photographers shoot from standing height, which means under-bed storage is completely invisible in photos. Use it.
Step 6 — Organize What Stays Visible on Shelves
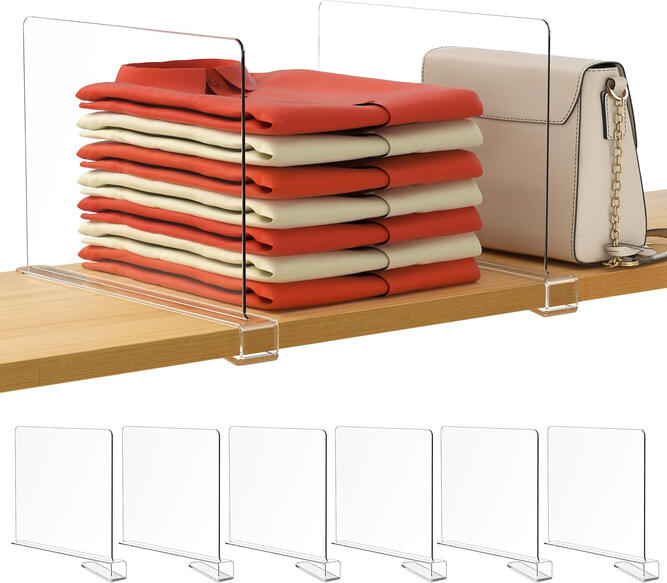
After you've removed the clutter, what remains needs to look intentional — not just "less messy." Folded items that aren't held in place tip over, spread out, and look disheveled in photos even when they're technically organized.Why it matters: A shelf with 6 neatly divided sections looks organized. The same shelf without dividers looks like items were just pushed into place.
Step 7 — Add Shelf Space Inside Closets That Feel Too Small
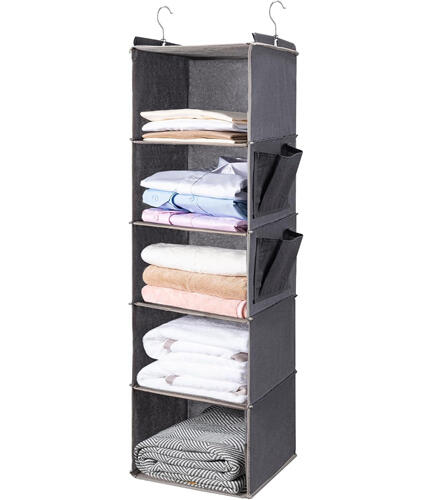
If a closet feels packed even after decluttering, it usually needs more vertical storage — not more floor space. A hanging organizer installs in seconds and immediately creates usable shelf space inside any closet, making small closets photograph more functional.Why it matters: Buyers who see an organized, functional small closet think "clever storage." Buyers who see a packed small closet think "not enough room."
You May Also Like
• Cheap Fixes Before Listing Photos
• How to Make Your Home Smell Good Before Listing
• Bedroom Staging Tips for Listing Photos
• Curb Appeal Tips for Listing Photos
More Guides for Home Sellers
Before Listing
• Kitchen Fixes Guide
• Bathroom Fixes Guide
• Living Room Staging Tips
• Home Office Staging Tips
• Entryway Staging Tips
After Selling
• Moving Checklist After Selling
• Deep Clean Before Moving Out
• First Week in Your New Home